The tools
Two tiles, one purpose
ANCHOR is two palm-size tiles: a spiral to press and trace, and a square path to breathe along. Both are small enough to hold in one hand and simple enough to use when thinking is hard.
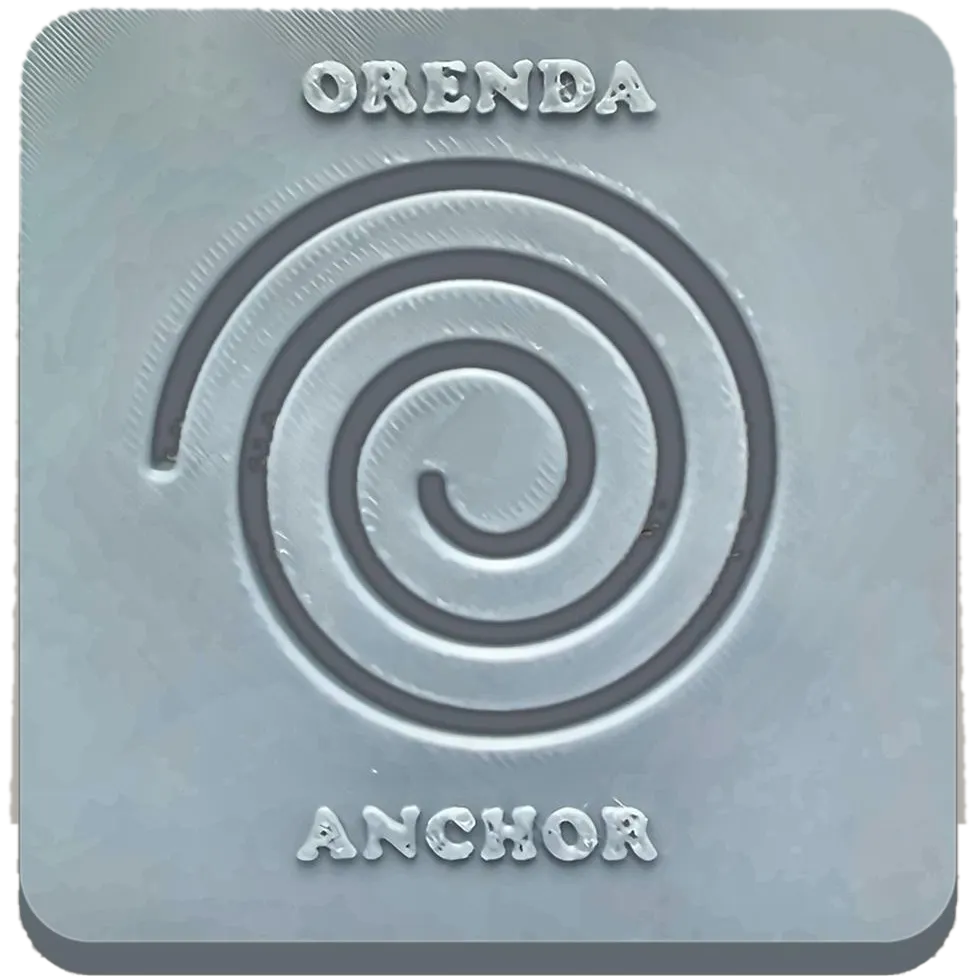
The ANCHOR Spiral
The spiral is for pressing and tracing. You can follow it inward to the center, or press and let it push back. There is no right way to use it.
How to use it
- Hold the tile in your palm or rest it on your lap.
- Put a fingertip anywhere on the spiral.
- Trace slowly. Notice the texture, the temperature, and how the spiral gives when you press.
- Repeat as many times as you need.
Size, material, and details
- Size
- About 76 × 76 mm, roughly 8 mm thick
- Spiral
- A three-turn channel recessed into the tile
- Feel
- An internal spring lets the spiral press in gently
- Inscription
- ORENDA above the spiral, ANCHOR below
- Made from
- All PLA, a rigid plant-based plastic, 3D printed, including the spring. No metal or latex.
- In development
- A smaller spiral sized for children
The spring, in hand
How it changed
The spiral took five prints to find its shape. It started as a raised ridge for the fingertip to ride on top of. Over time it became a deep channel that the finger travels inside. Tracing a ridge became being held by a channel.
The first labels told people what to do: “Follow the Spiral.” The current tile says what it is: Orenda and Anchor.
The spring came from a mistake. One print came out with a little give in the spiral. The ICU staff who pressed it loved it, so the give stayed and became the spring in the current design.
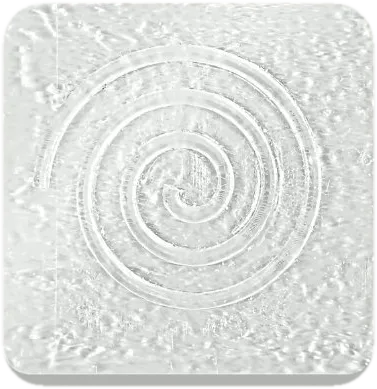 01First printraised spiral, first form
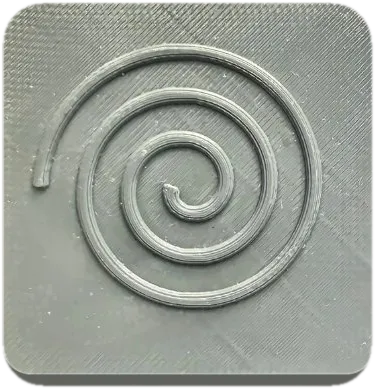 02Raised spiralopaque PLA
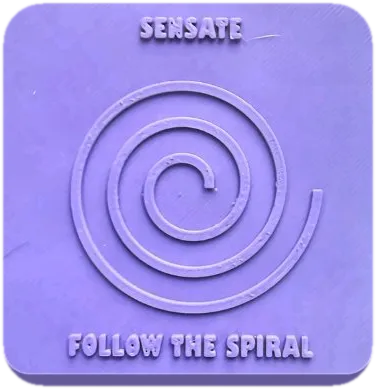 03Named and guided“Sensate” and “Follow the Spiral”
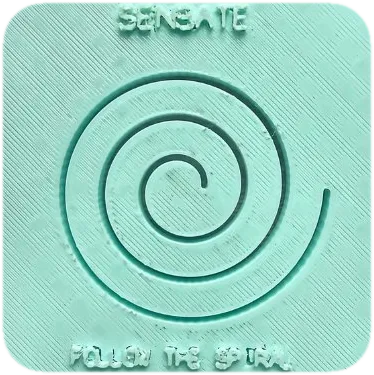 04Recessed groovethe finger now travels inside
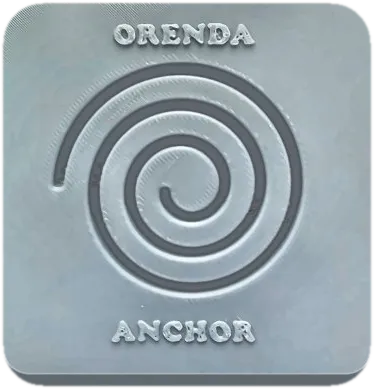 05Orenda and Anchordeep channel, current form
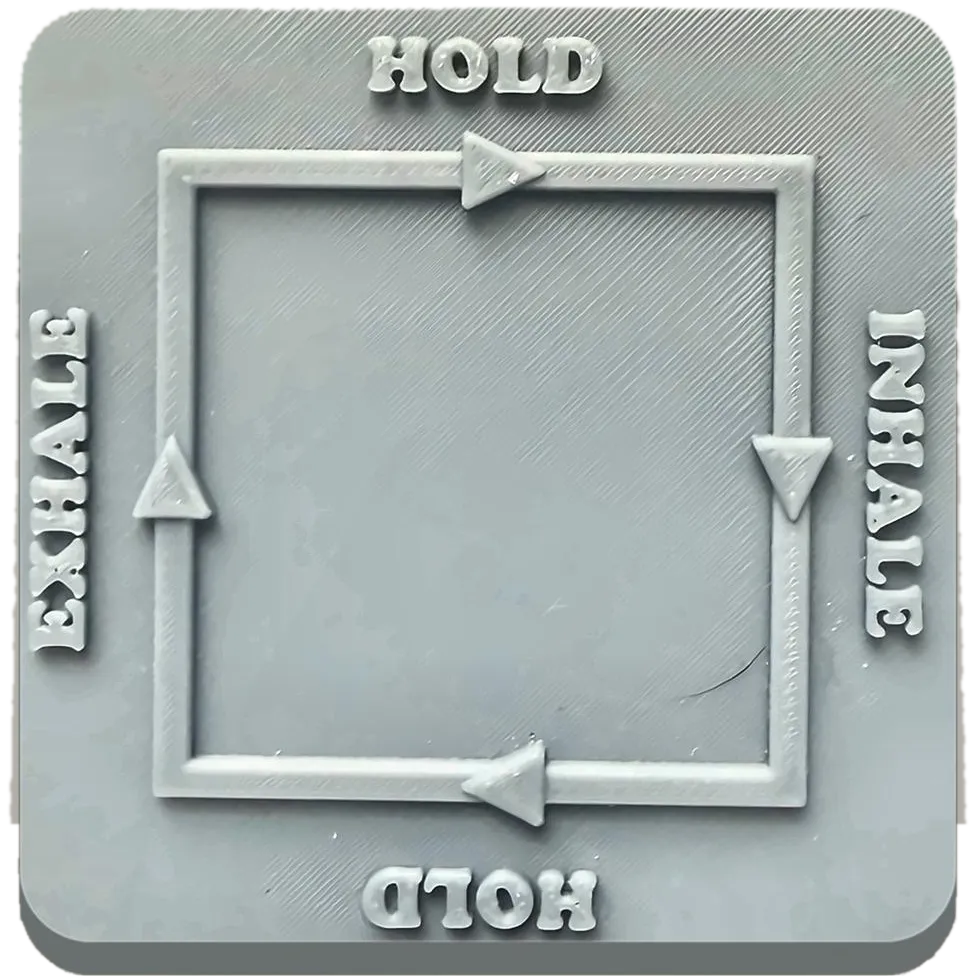
The ANCHOR Box Breathing Tool
The box breathing tool turns a breathing exercise into something your hand can follow. The path keeps your place, so you don't have to count in your head.
Breath holds aren't right for everyone. In a hospital, check with the care team first. If holding your breath doesn't feel okay, skip the holds and just trace.
How to use it
- Find the side marked INHALE. Breathe in slowly as you trace along it.
- Follow the arrow to the next side and hold your breath gently as you trace.
- Breathe out slowly as you trace the side marked EXHALE.
- Hold again along the last side, then start over. A slow count of four on each side is a good place to begin.
Size, material, and details
- Size
- The same palm-size tile, about 76 × 76 mm
- Path
- A raised square with arrows showing the direction
- Labels
- HOLD, INHALE, HOLD, EXHALE, one on each side
- Directions
- Clockwise and counter-clockwise versions
- Made from
- All PLA, a rigid plant-based plastic, 3D printed. No metal or latex.
- In development
- Left- and right-handed versions in a more pliable material
How it changed
I learned this one by printing, mistakes included. The first print came out with mirrored letters. Later prints moved the labels to the sides and cleaned up the lettering. The last two give people a choice of direction: clockwise or counter-clockwise.
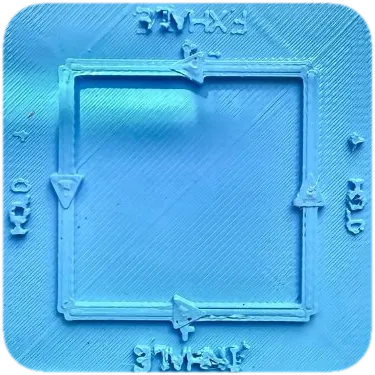 01First printpath and arrows established
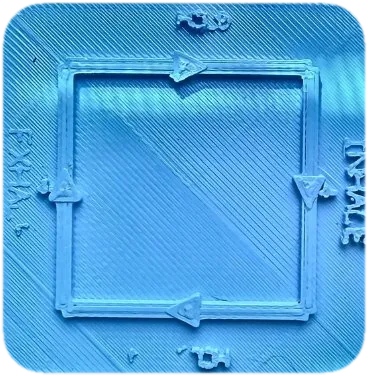 02Labels reworkedbreath cues moved to the sides
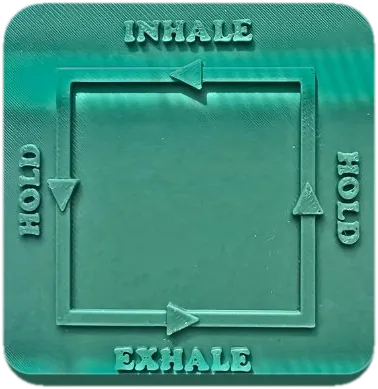 03Clean letteringinhale-first layout
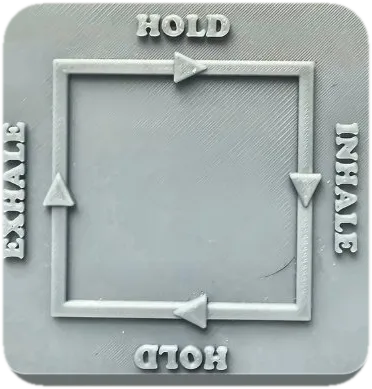 04Clockwiserefined lettering and arrows
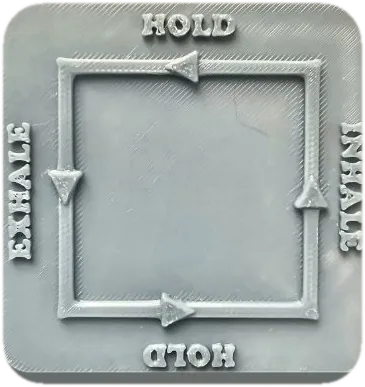 05Counter-clockwisemirror-path option
Which tool for whom
| Who | Tool | Why |
|---|---|---|
| Patients on a ventilator | The spiral | Press or trace. No breath holds needed. |
| Alert patients breathing on their own | Spiral or box breathing | Their choice. Check breath holds with the care team first. |
| Family members | Both | Something to do with the waiting. Theirs to keep. |
| Staff | Spiral or box breathing | Their choice. A quiet reset, kept at the nurses’ station. |
Working in a hospital? The guide for hospital teams covers offering the tiles, safety notes, and cleaning on one printable page.
Made for hard places
- Needs no power. No batteries, outlets, Wi-Fi, or apps, so it keeps working in an outage.
- Rounded edges, smooth in the hand.
- Lightweight, and small enough to slip into a scrub or coat pocket.
- Works with one hand or both, around IV lines and weak sides, or beside a held hand.
- Sweaty hands welcome. The surface doesn’t absorb, and the edges and lettering add grip.
- Easy to sanitize. Every tile is wiped clean between uses, and that has held up in the ICU.
- Colors vary. Tiles are printed in clinically appropriate colors. The color isn’t a choice, and it can differ from tile to tile.
The prototypes are printed with the UNCA Engineering Department. Thank you to Connor.